Ceiling Beam Assembly with P-System
How It works
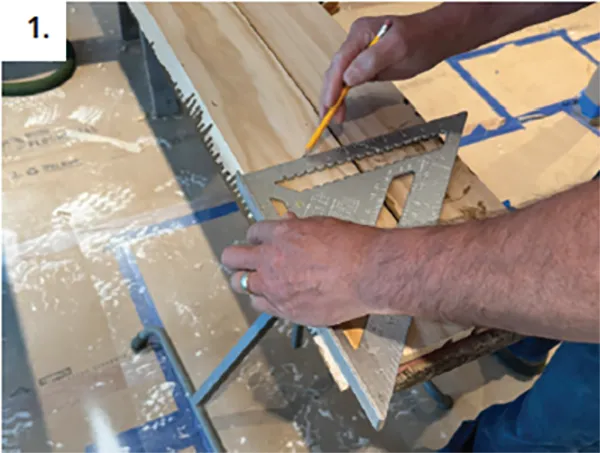
Lay out center lines for connectors on facias and soffit
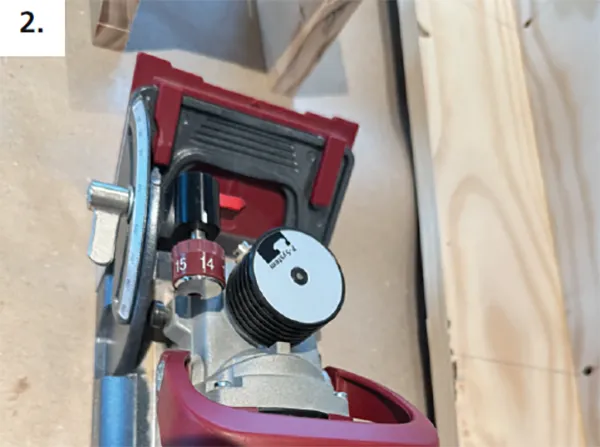
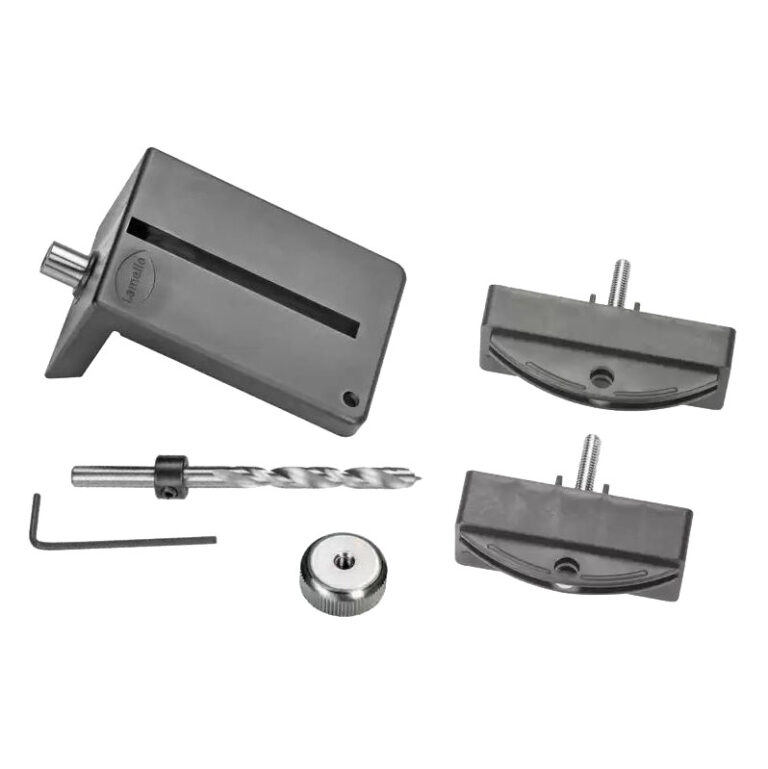
Set Zeta P2 to “14” for the P-14 connectors

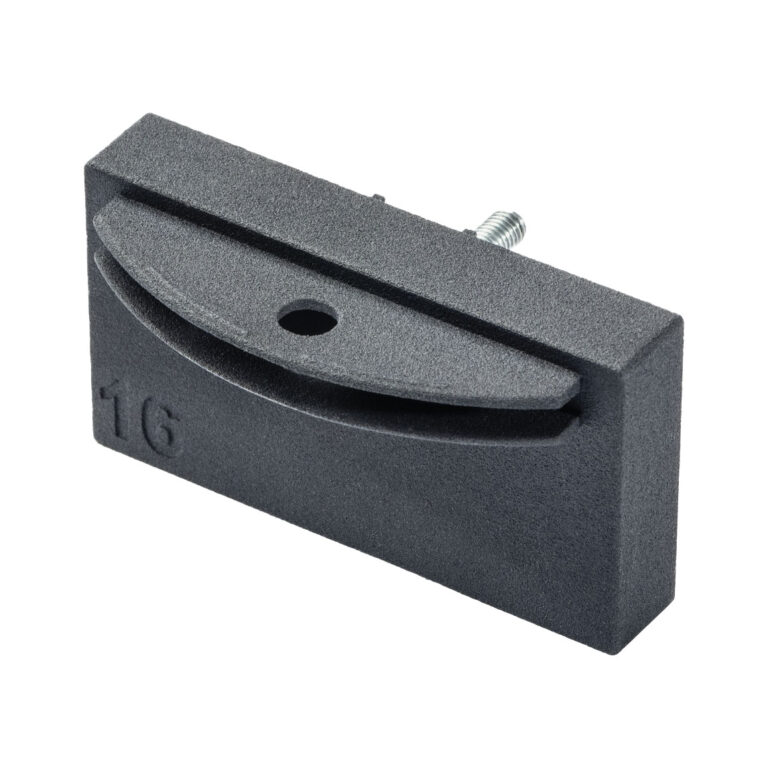
Set flip stop to desired angle and use the spacer plate if necessary.
*Or use stop square for long point referencing
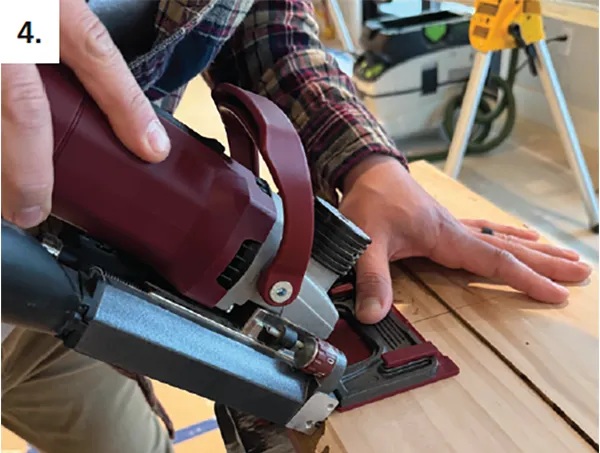
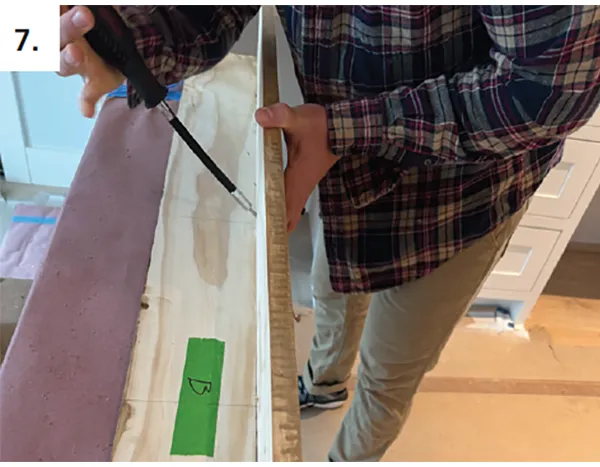
Machine P-System slots
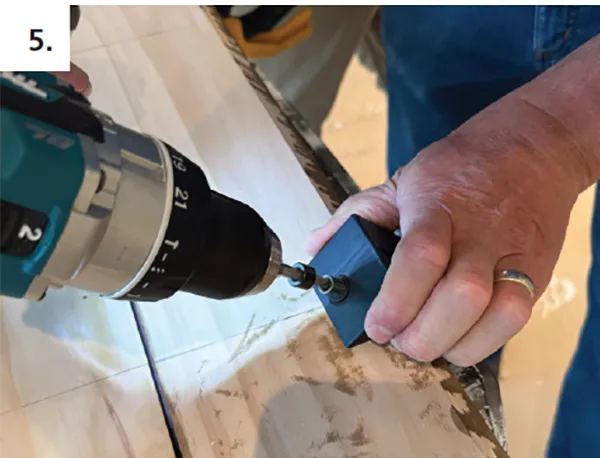
Using drill jig, drill 6mm wrench access hole for Clamex connectors
(not required with Tenso)

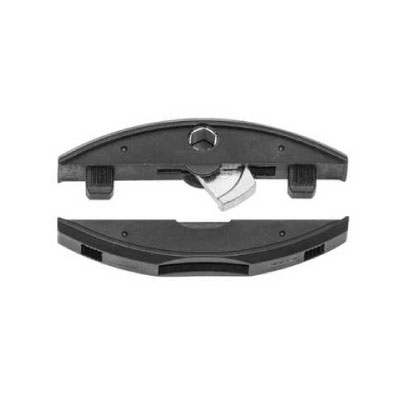
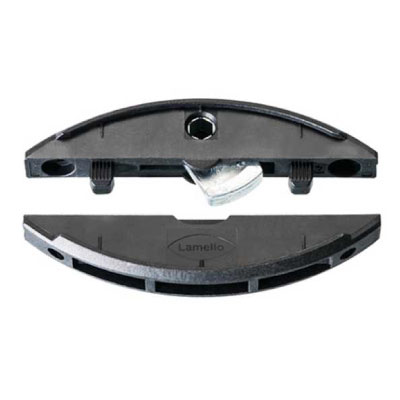
Install connectors
Assemble and clamp Clamex connectors with allen wrench tool
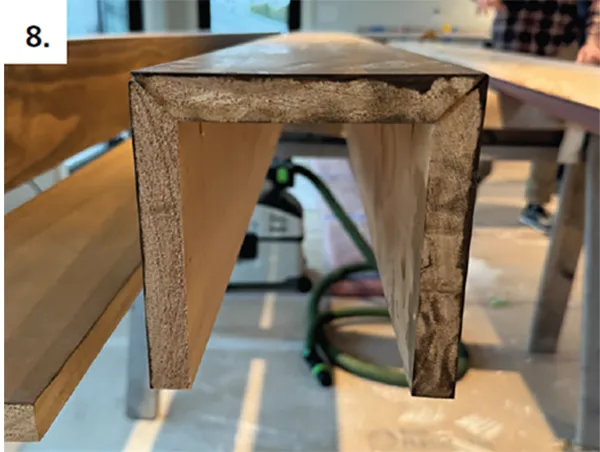
Pre-assemble as complete “U”- or partial “L”- shapes
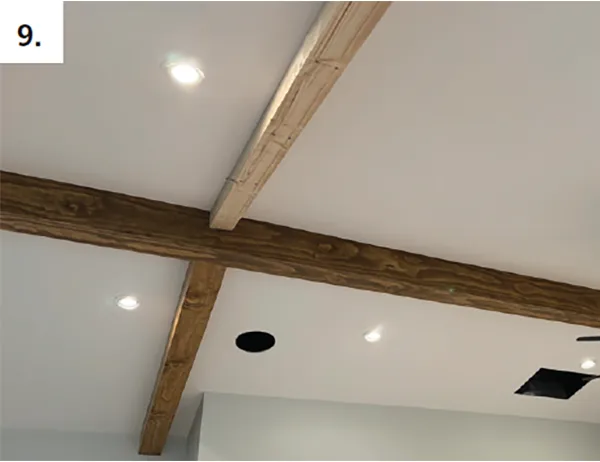
Scribe to ceiling and install